Creating Claim
How to Create Claim
In this manual, you will find instructions on how to submit a claim directly in the Mailship portal. The entire claims processing procedure is described here: Claims process.
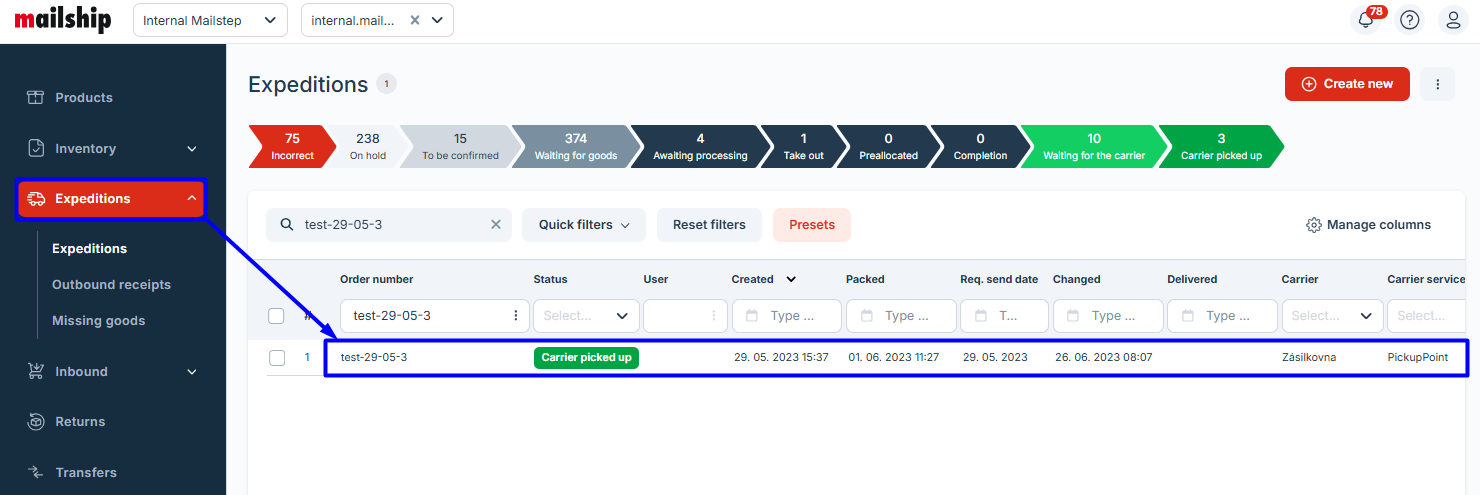
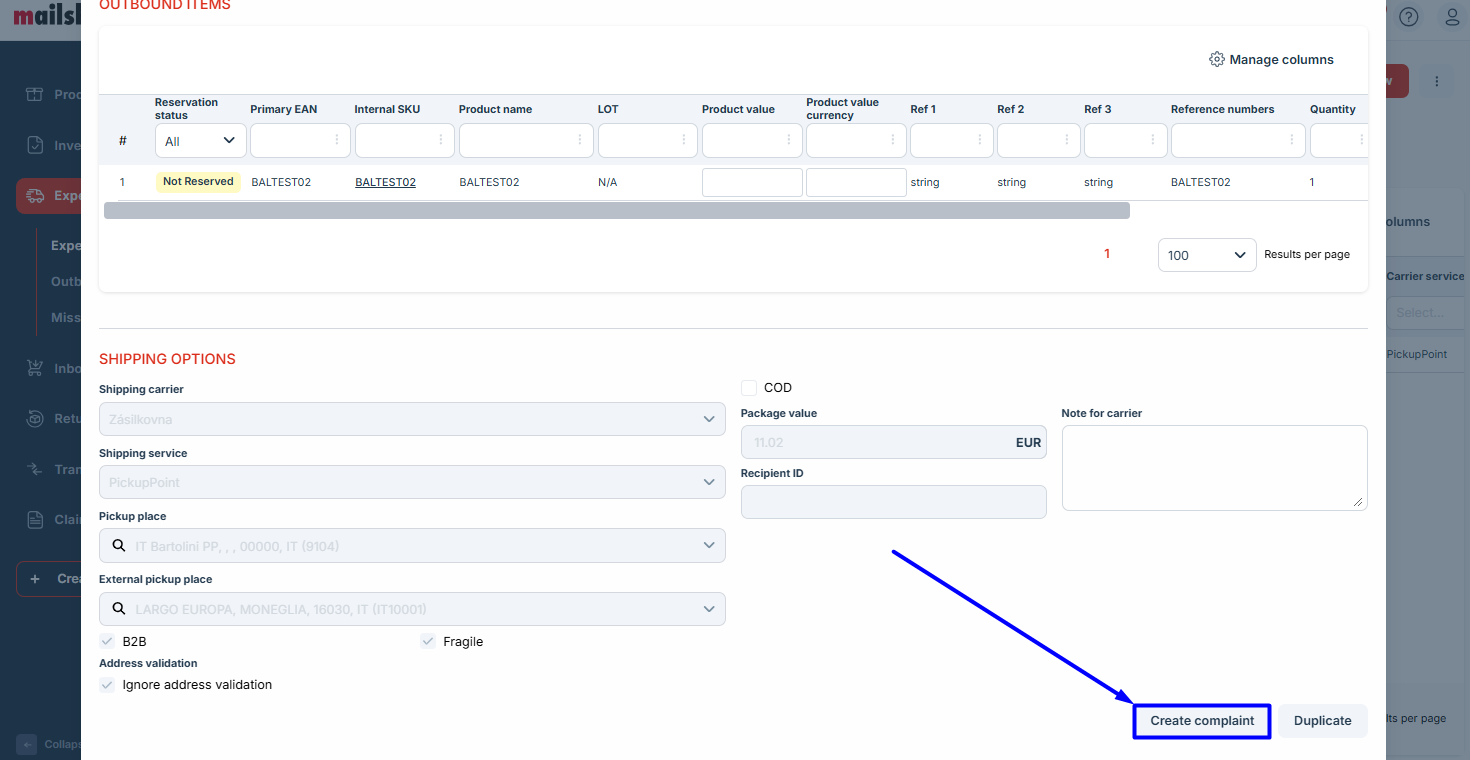
1) Creating Claim
In the Mailship portal, claims are created in the “Expeditions” section. First, find the order you want to claim, open its details, and click on the Create Claim option at the bottom.
2) Filling Out a Claim
In the newly opened window, fill in the required details:
Mandatory Fields | |
|---|---|
| 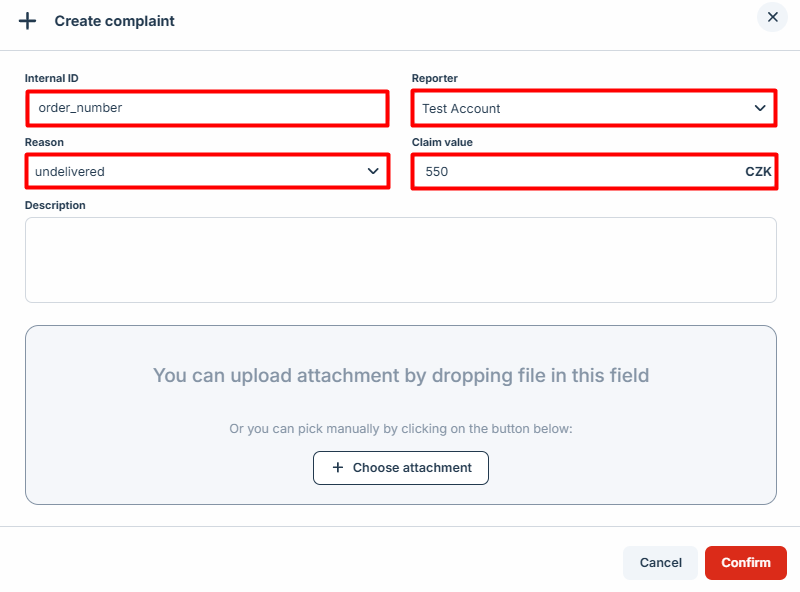 |
Optional Fields | |
The required documents for submission can be found here: Claim Resolution | 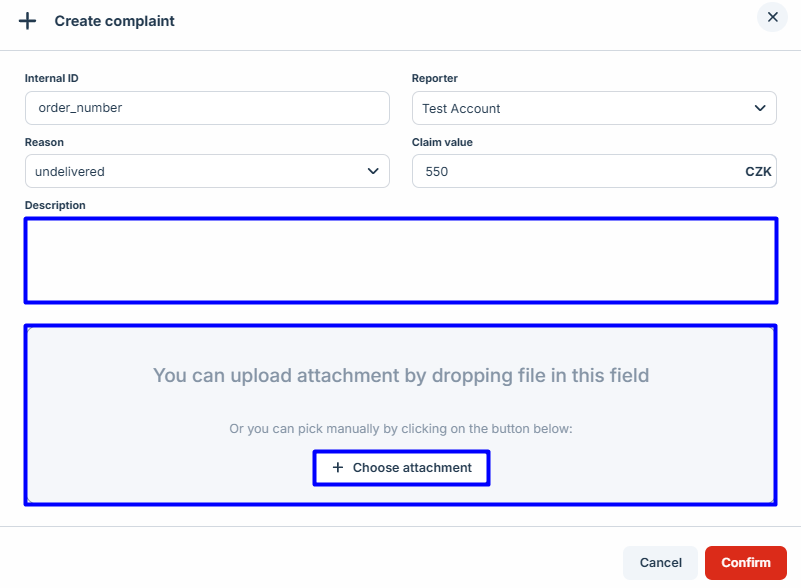 |
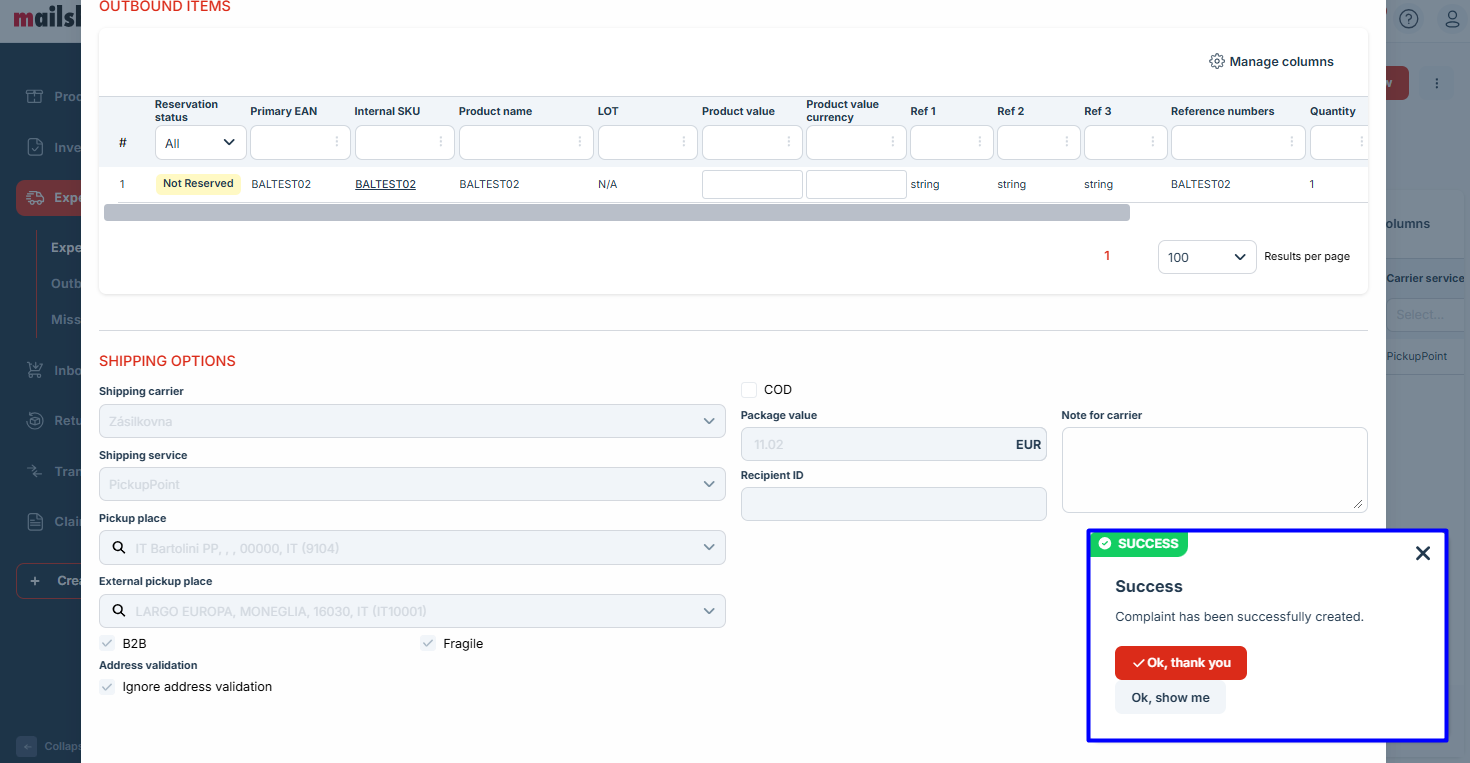
3) Successfully Created Claim
After submission, a confirmation window with the message "Success" will appear. You can open the claim details by clicking the "OK, show me" button.
After creation, the claim has the status Created, and it is prioritized in this state. You can add comments or attachments, but do not change the status (be cautious with the Waiting for Response button, as it also changes the claim's status).