
Creating Transfer
How to Create Transfer?
In the Mailship portal, you have two options for creating transfer:
Add them individually.
Upload them in bulk using the import.
On this page, we’ll look at how to create individual transfer. If you’re interested in performing a bulk import, follow this guide: Creating Transfer in Bulk via Import
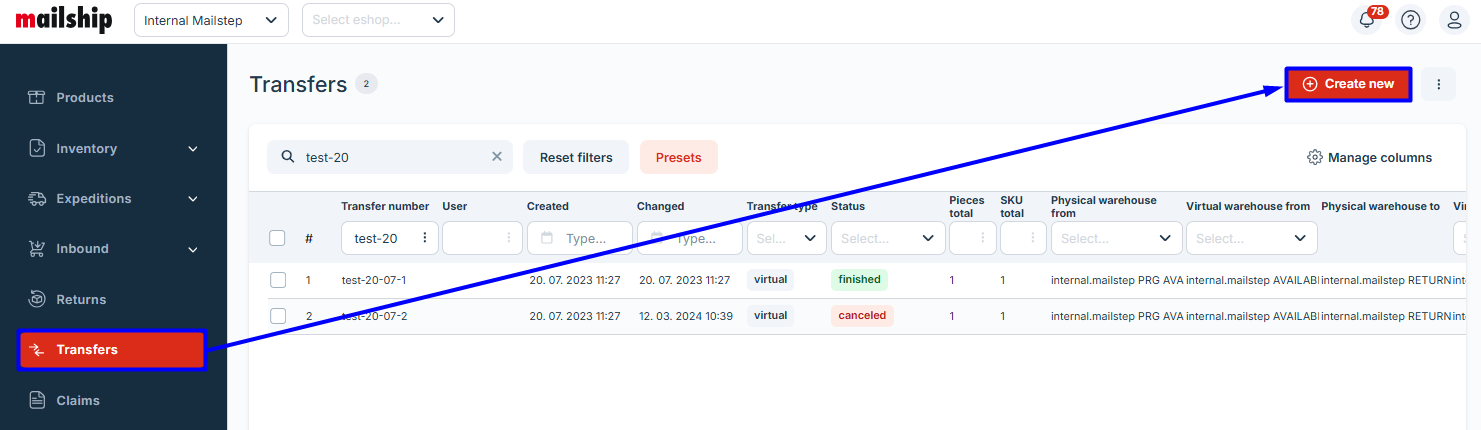
Creating an Individual Transfer
Transfers → +Create New
Mandatory Fields | |
|---|---|
Transfer items
Import items | 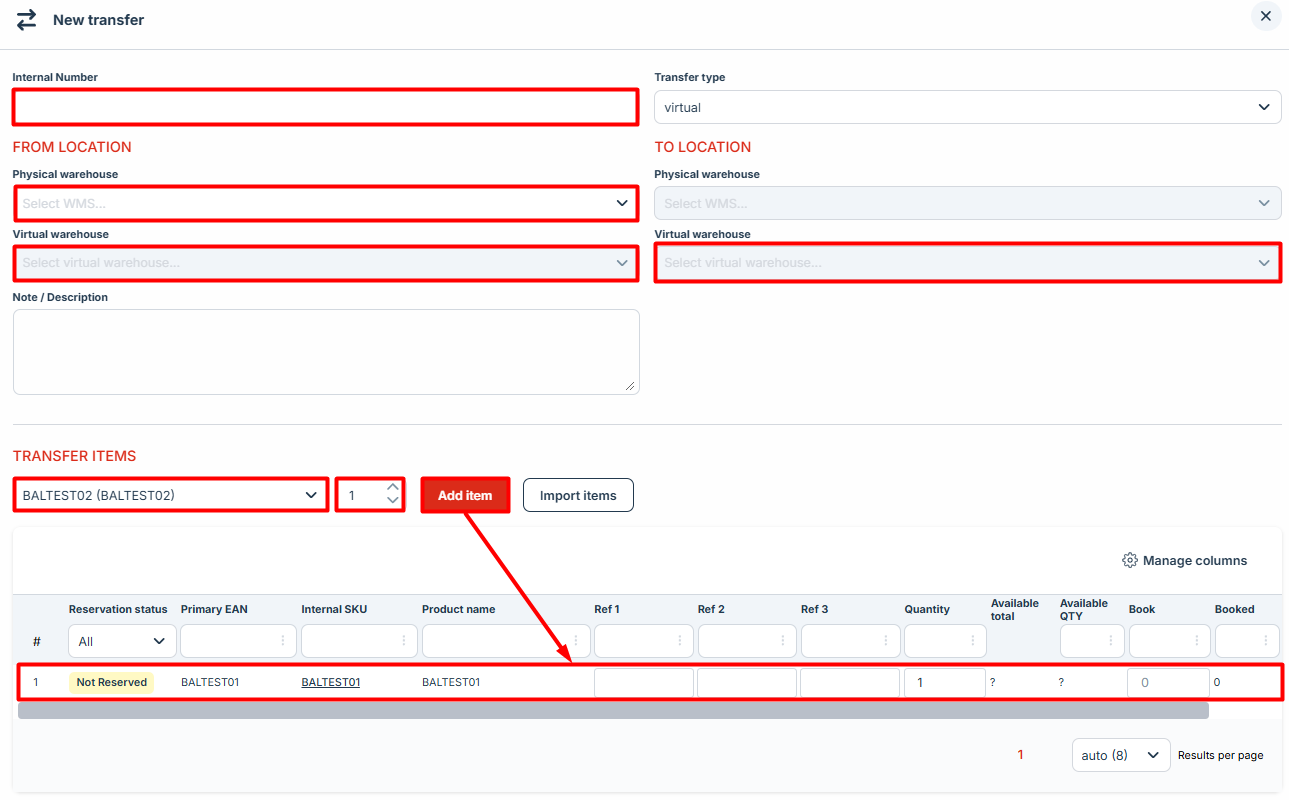 |
Optional Fileds | |
| 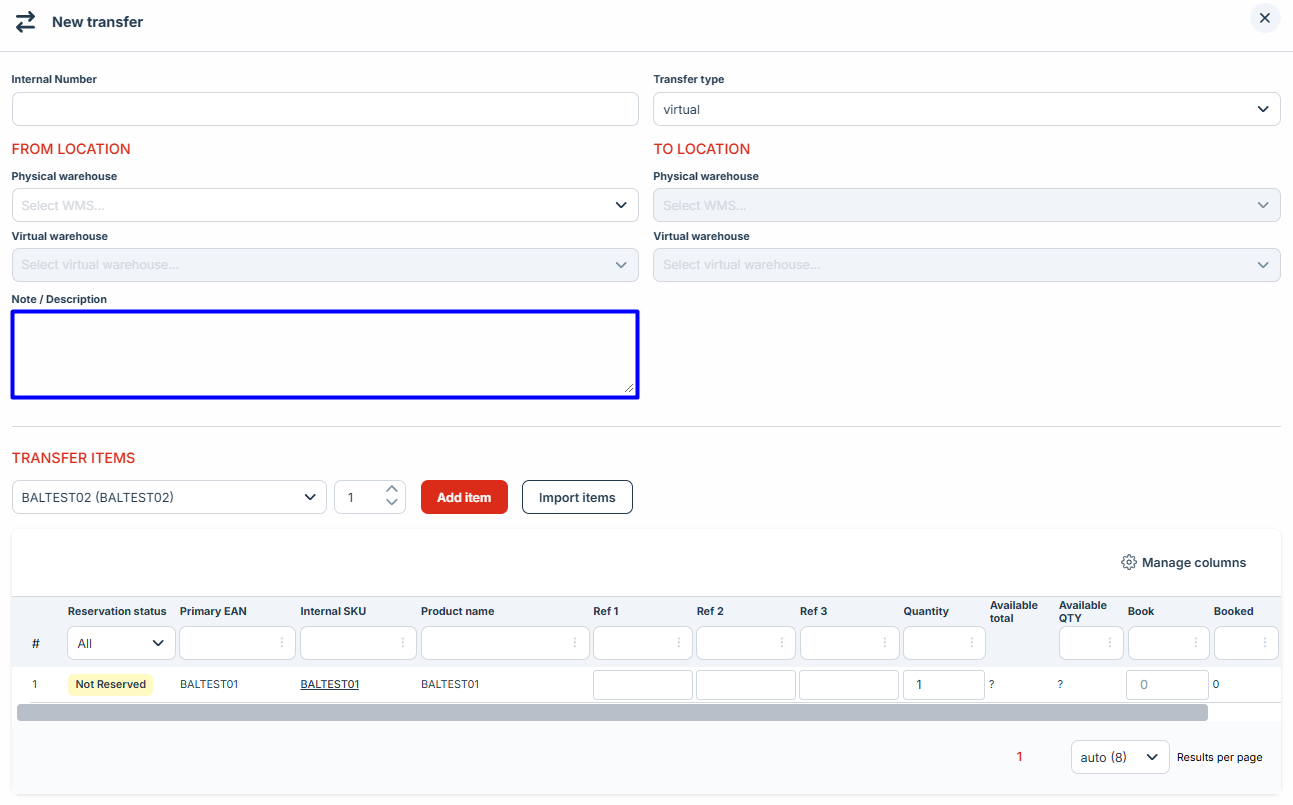 |
Confirmation and processing of a transfer
After you confirm the form by clicking “Save”, the transfer is created with the status “New”.
As the second step, you need to edit the transfer, reserve the goods into it, and confirm it by clicking “Save and send”. Once you complete this second step, Mailship records the exact movement of the goods.